The journey of chatting with a local LLM on my MacBook Pro, using .NET.

It is easy to use ChatGPT or other genAI nowadays with just your browser. As a developer we can do more sophisticated things by directly integrating like OpenAI API. What if we want to run a LLM on our machine, just for having someone to chat with or developing something funny?
DeepSeek recent models release causing ripples in the software and tech industry. Thanks to the distillation technique, the much smaller, resource affordable models can now similarly powerful on specific tasks. No matter in genAI or ML world, Python is the dominant stack. Although I know Python personally, as a tradition of #EverythingInCSharp series. In this post I am documenting how did I have the deepseek-ai/DeekSeek-R1-Distill-Llama-8B model run in a C# program.
- Pre-requisites
Since .NET cannot make use of hugging face models directly in .safetensorsformat, you will either need to convert the .safetensors format into .gguf(GPT-Generated Unified Format) or download one converted and uploaded to Hugging Face by other people (e.g. this). Skip to point 5 if you don’t want to convert it by your own.
2. Download the model
Clone the model repository with the following git commands, beware that the model files are 15GB large:
git clone https://huggingface.co/deepseek-ai/DeepSeek-R1-Distill-Llama-8B3. Clone the Llama.cpp repo
You will need the conversion script inside to transform HuggingFace format in to GGUF format.
git clone https://github.com/ggerganov/llama.cpp.git4. Convert the model
Before I can successfully run conversion script, I have to:
4.1 Setup a virtual environment:
cd llama.cpp
python3 -m venv .
source bin/activate
4.2 Install the following packages:
python3 -m pip install numpy torch sentencepiece gguf safetensors transformerspython3 convert_hf_to_gguf.py --outfile your_filename.gguf ../DeepSeek-R1-Distill-Llama-8BYou will see the following when done:

5. Create a new C# console program:
dotnet new console6. Install required packages:
Since the model is llama based, we will need LlamaSharp
dotnet add package LLamaSharp I am using Macbook Pro therefore I will need to install a specific backends too:
dotnet add package LLamaSharp.Backend.CpuIf you are not using Mac please refer to the official list of backends available here.
7. Code to create a chat session:
I will copy the sample code from LlamaSharp readme to replicate the minimal chat session setup:
using LLama;
using LLama.Common;
using LLama.Sampling;

string modelPath = @"DeepSeek-R1-Distill-Llama-8B.gguf"; // change it to your own model path.

var parameters = new ModelParams(modelPath)
{
    ContextSize = 1024, // The longest length of chat as memory.
    GpuLayerCount = 5 // How many layers to offload to GPU. Please adjust it according to your GPU memory.
};
using var model = LLamaWeights.LoadFromFile(parameters);
using var context = model.CreateContext(parameters);
var executor = new InteractiveExecutor(context);

// Add chat histories as prompt to tell AI how to act.
var chatHistory = new ChatHistory();
chatHistory.AddMessage(AuthorRole.System, "Transcript of a dialog, where the User interacts with an Assistant named Bob. Bob is helpful, kind, honest, good at writing, and never fails to answer the User's requests immediately and with precision.");
chatHistory.AddMessage(AuthorRole.User, "Hello, Bob.");
chatHistory.AddMessage(AuthorRole.Assistant, "Hello. How may I help you today?");

ChatSession session = new(executor, chatHistory);

InferenceParams inferenceParams = new InferenceParams()
{
    MaxTokens = 256, // No more than 256 tokens should appear in answer. Remove it if antiprompt is enough for control.
    AntiPrompts = new List<string> { "User:" }, // Stop generation once antiprompts appear.

    SamplingPipeline = new DefaultSamplingPipeline(),
};

Console.ForegroundColor = ConsoleColor.Yellow;
Console.Write("The chat session has started.\nUser: ");
Console.ForegroundColor = ConsoleColor.Green;
string userInput = Console.ReadLine() ?? "";

while (userInput != "exit")
{
    await foreach ( // Generate the response streamingly.
        var text
        in session.ChatAsync(
            new ChatHistory.Message(AuthorRole.User, userInput),
            inferenceParams))
    {
        Console.ForegroundColor = ConsoleColor.White;
        Console.Write(text);
    }
    Console.ForegroundColor = ConsoleColor.Green;
    userInput = Console.ReadLine() ?? "";
}
8. Run and try:
dotnet run
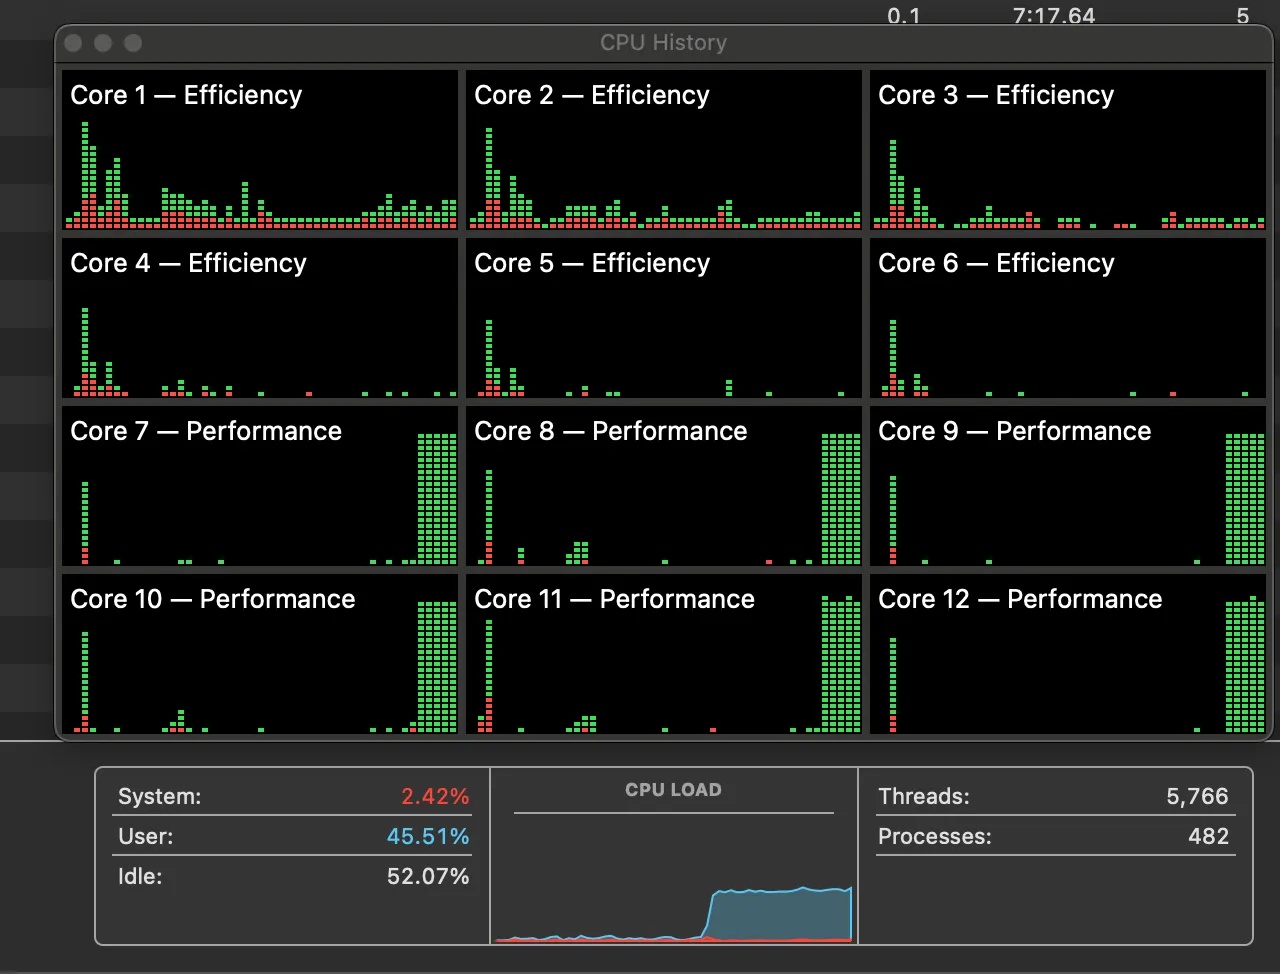
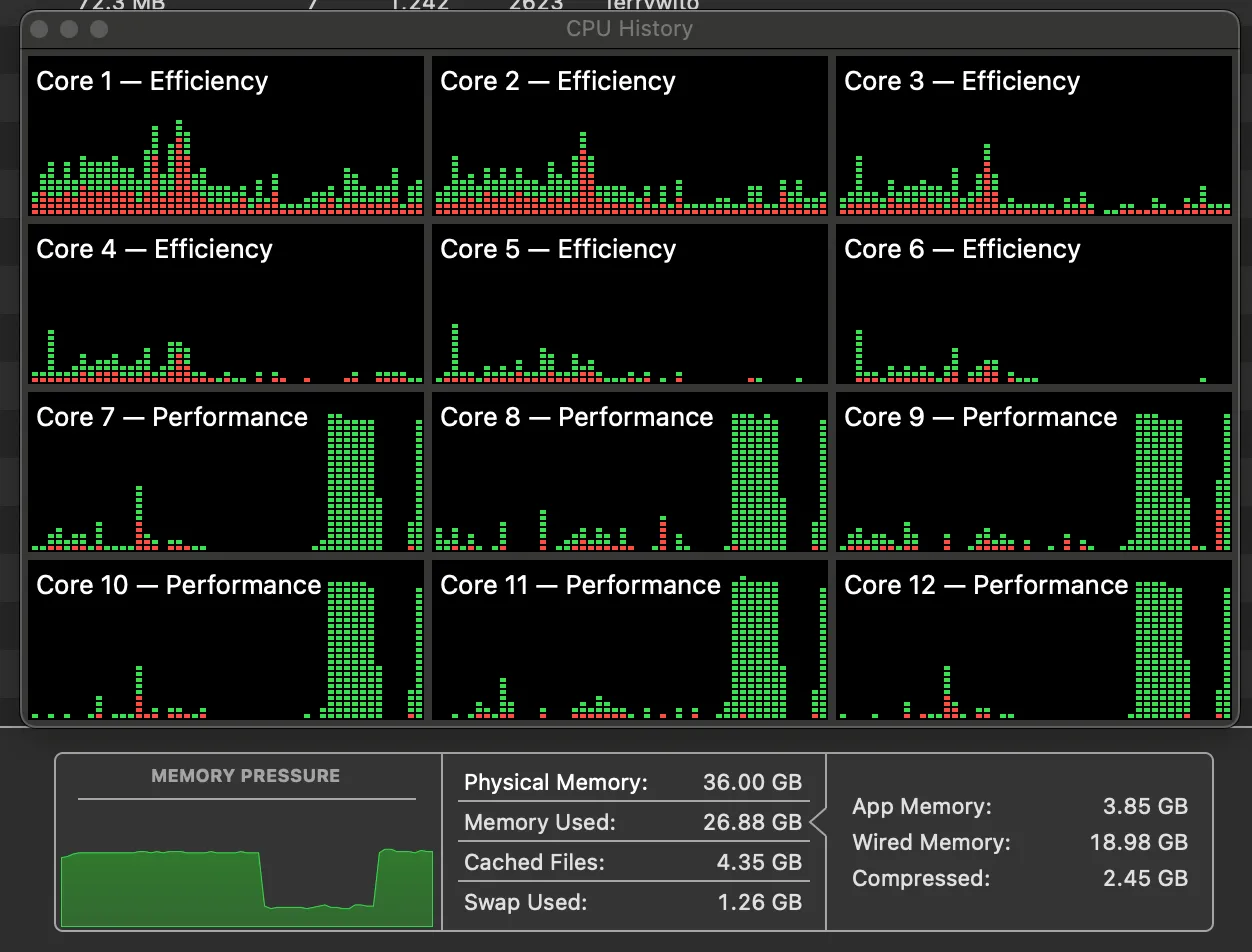
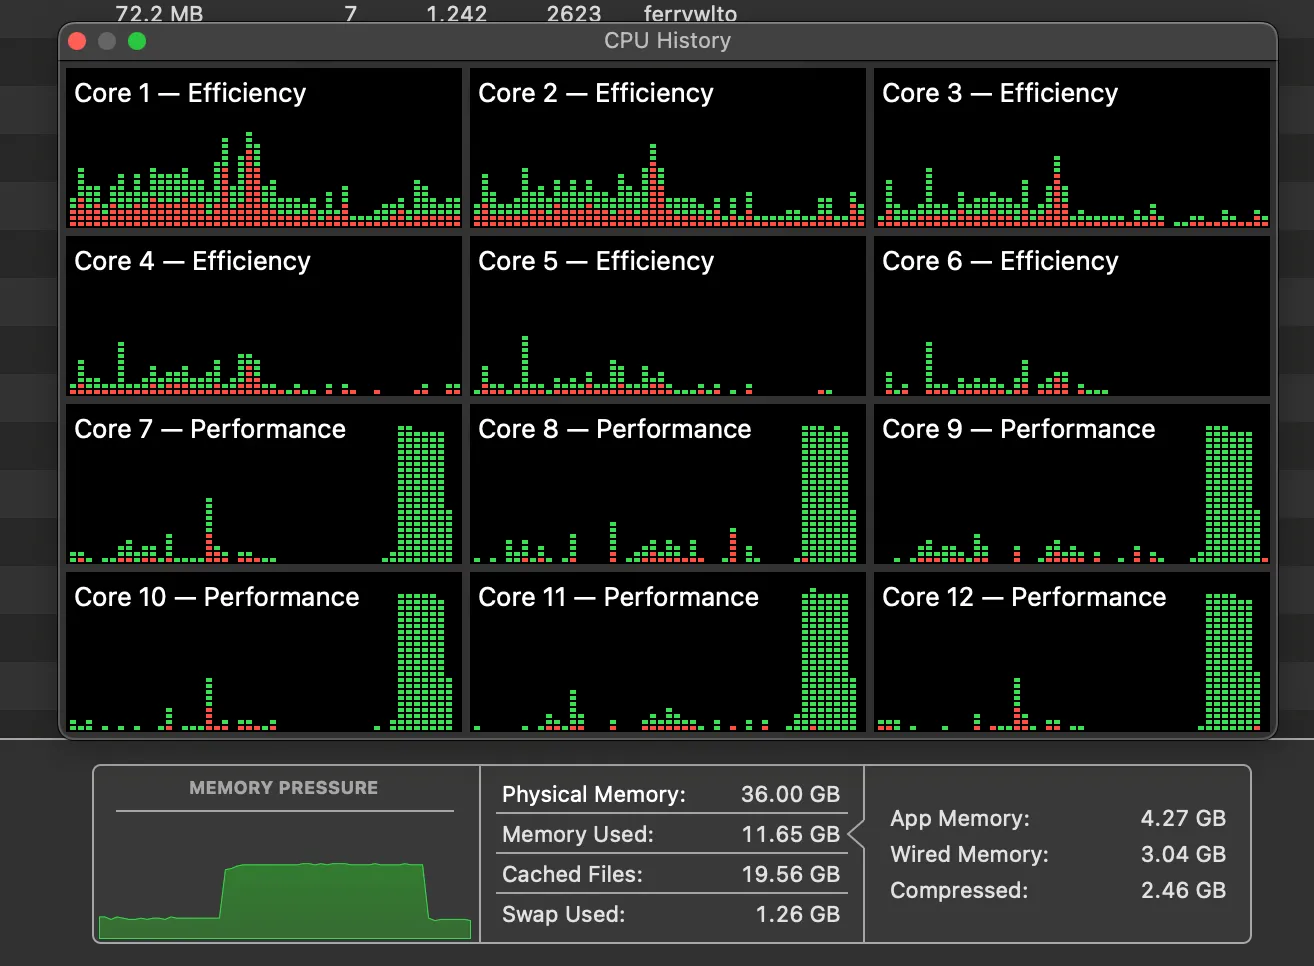
On my M3 Pro 12-cores CPU Macbook, the token generations used 45% CPU time, while it use around 16GB memory. The memory usage pretty much the same as the size of the model itself.
Enjoy! 🎉 I can’t wait to see what your C# code can do with your local LLM! 😀